My Blinkie

My Forum

Showing posts with label Zindy. Show all posts
Showing posts with label Zindy. Show all posts
Thursday, December 4, 2014
New Tag Showoff - Zindy & WDDesignz - Chicano


Weeeeeeeeeeee I have a new tag/set to showoff. I haven't done one of these in forever and I am just so excited!
I am now on WDDesignz CT team and I am a very Happy Girl!
Thank you Melissa so much for having me on your CT!!!!
I know I haven't been on lately with the holidays coming and going and personal issues always at high alert, but today I finally got some time to play!
I hope you all like what I have created!
This gorgeous tube is called - Chicano
And you can get it and Zindy's Tube Store - HERE
She is my favoite artist as most of you know!
Please make sure you stop on by one of the many places below to check out Zindy's Work! I know you will love it just as much as me
Zindy's Main Site - HERE
Zindy's Store - HERE
Zindy's Facebook Fan Page - HERE
Zindy's Facebook Tube Page - HERE
Now let's give it up to Melissa as well from WDDesignz for making this gorgeous kit to match this beautiful tube!
The beautiful kit is called - Chicano
And you can also find this at Zindy's Tube Store - HERE
You can buy this individually or you can buy this as a bundle tube and kit - HERE
Also check out some more of Melissa's designs and Zindy's shop where she has more individual kits and more bundles to go along with Zindy's tubes!
Also check out her blog WDDesignz - HERE
I hope you all like what you see it. It was so much creating this!
Thanks for stopping by.
Lot's Of Love,

Thursday, January 23, 2014
Tag Showoff - Zindy & CBJ Night Creatures


Yay new tag showoff for you all.
I haven't done one of these in forever. So excited!!
You all know how much I love Zindy and her artwork, and if you don't know you will trust me lol. I have been a mega fan of hers forever now and I just love seeing what she makes next!
Now whats even more awesome is I am now apart of CBJ CT Team (Crazed Creationz aka Jo). I am stoked. Not only do I have Zindy's tubes I now have the kits to match her beauties.
CBJ makes some beautiful kits that go so amazingly with Zindy's tubes. But they would go so well with other artists as well.
Swing on by Zindy's Store and check out Zindy's tubes as well as CBJ kits.
The tube I used above is called - Night Creatures
The kit I used is called - Night Creatures
You can get tube and kit together here - Night Creatures Pack
To visit Zindy:
To visit CBJ:
Make sure you check out all the links to see what both ladies have to offer. In some places you can win some pretty amazing things so don't miss out and go look already!!!!!
Thank you all for stopping by.
Lot's Of Love,
Saturday, July 20, 2013
New Tag Showoff - Zindy - Innocent Heart Fairy
Wooohooo I have a triple threat tag here lol.
Nah I just was in a very creative mood and really liked how this tag turned out!
As you know that's a huge thing for me to say, but as you can tell I loved it cause I made it in 3 different ways!
I love how each one came out so much.
My fav is black and white one but I love the others as well and think it gives it a bit of pop in one and then in other more of a vintage like style!
Which one is your fav?
Scroll down for more on this post for more info about the tube and kit I used to create this:


This amazing and gorgeous tube was created by the wonderful Zindy S.D. Nielsen. You know she is my fav!
You can get this tube at her store here - Innocent Heart Fairy
Plus check out all the other amazing stuff she has there from tubes, to keychains, to prints, and originals and so much more!
Plus visit her here at where she hangs out for other cool stuff and info about Zindy:
Her Main Site - Zindy Zone
Her Store - Zindy Zone Shop
Her Facebook Fan Page - Zindy S.D. Nielsen Artwork
Her Tubes Facebook Page - Zindy Zone Tubes
So many wonderful contest to win so many things at these place, so you have got to go check it out, I wouldn't want you to miss anything!!!!!!
The kit I used is called - Dont You Remember
And was Made by Lila's Designs
Click on name of kit to take you to her store! Once you get there you can read a bit about her and where else she is! It has all her info at her store for you!
I love love her designs and I hope you will tooo!
Thank you all for stopping by and I hope you like what you see!
Lot's Of Love,
Wednesday, July 3, 2013
Snaggable Facebook Cover - Summer Rose
Hi All!
I know I have been away awhile and well what a way to come back and give you all a goodie!
I made this snaggable cover for your personal Facebook page using my favorite Artist Zindy S.D. Nielsen!
The Tube I used is called Summer Rose!
It's such a beautiful tube to play with, with her gorgeous brunette hair and adorable face you will fall in love too!
She is has a great sale going on this month, so make sure you all swing on by to see what she has!
You will love everything she has to offer and so much more!
To visit her go to these places below:
Zindy Zone Artwork (Facebook Fan Page)
Zindy Tubes (Facebook Tubes Page)
Thank you all for stopping by!


To get full size of the Cover Banner click on it and it will bring you to a full size version and you just right click and save!
Lot's Of Love,
Saturday, September 8, 2012
New Tag Showoff - Zindy
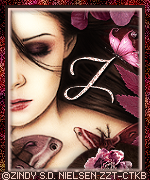
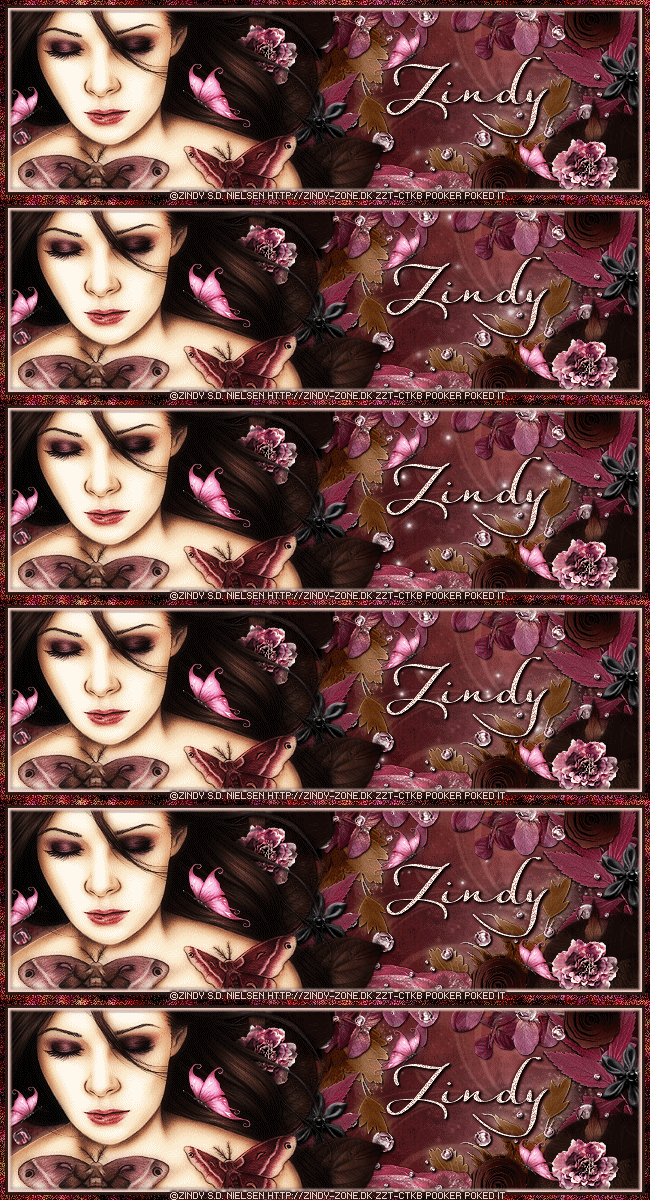
So before I leave I need to do a few more showoffs. The month aint over yet and I might as well get all the psp out of me while I can lol.
And what better way to showoff more sets of Zindy S.D. Nielsen!!!!!
As you all know she is my most fav artist out there. She has incredible skills and is truly talented. I love all her work! Its an inspiration to me!
So without further ado this set above is made by using a tube called - Connected
Made by the wonderful Zindy S.D. Nieslen!
Zindy has some awesome and fabulous specials over at her shop! She is celebrating her 6th Anniversary of her shop YAY! Congrats Zindy!
So make sure you swing on by and see all the goodies she has to offer. Also on her Facebook Fan Group she will also have goodies and prizes and games for all. So make sure you swing on by her FB group and join in on the fun!
Also Zindy has opened up a brand new Gallery for you all to have a look at all her awesome pieces and other cool stuff, Like Tattoo's, Tags and more!
Here are all her Links to see everything!
To visit Zindy's Shop - Zindy Zone Shop
To visit Zindy's Site - Zindy Zone
To visit Zindy's Tube Blog - Zindy Zone Tubes Blog
To visit Zindy's Facebook Group - Zindy S.D. Nielsen Artwork
To visit Zindy's Gallery - Zindy Zone Gallery
Sunday, September 2, 2012
2 New Forum Set Showoffs - Zindy
As you all know very well by know that Zindy is my fav artist to play with lol,
I have made so many creations using her work, and I know I will be making even more as I keep going!
Here are two forum sets below I just recently made! I told you all I would be making some Autumn/Fall tags lol. There was no way i was missing out on this season!
It's My Fav Season Of All!
So below each set I will write a lil bit on the set and then keep scrolling for info below. Some cool stuff! YAY!

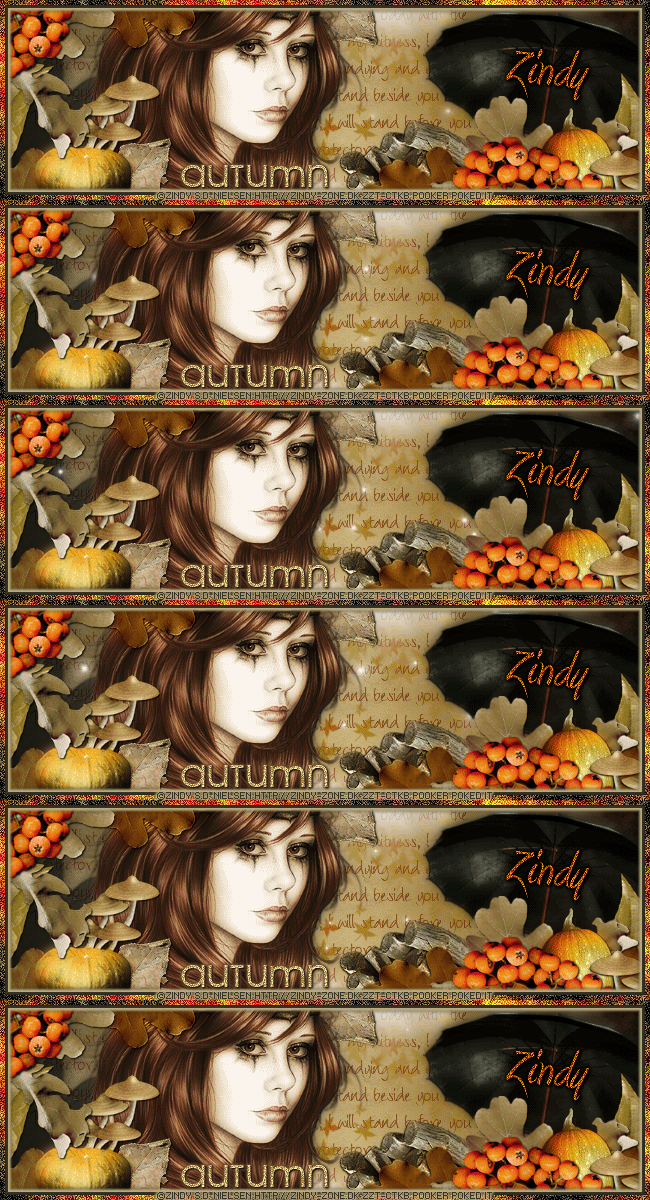
This set Above I used this tube called - Autumn Goodbye
And Of course you can get it at Zindy's Store.
I really liked how this set above came out, I didn't plan for it to be like this which I think is even better actually, I love how you can sometimes let your mind wander and let you hand be free to do what it wants! it doesn't happen often for me, but so glad it did on this one lol YAY!
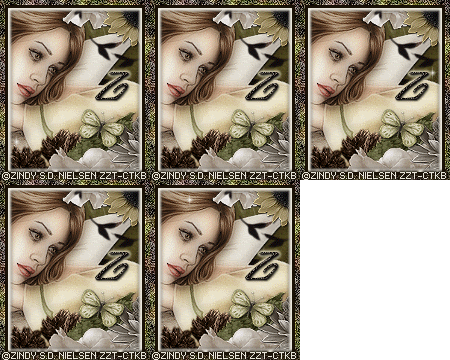
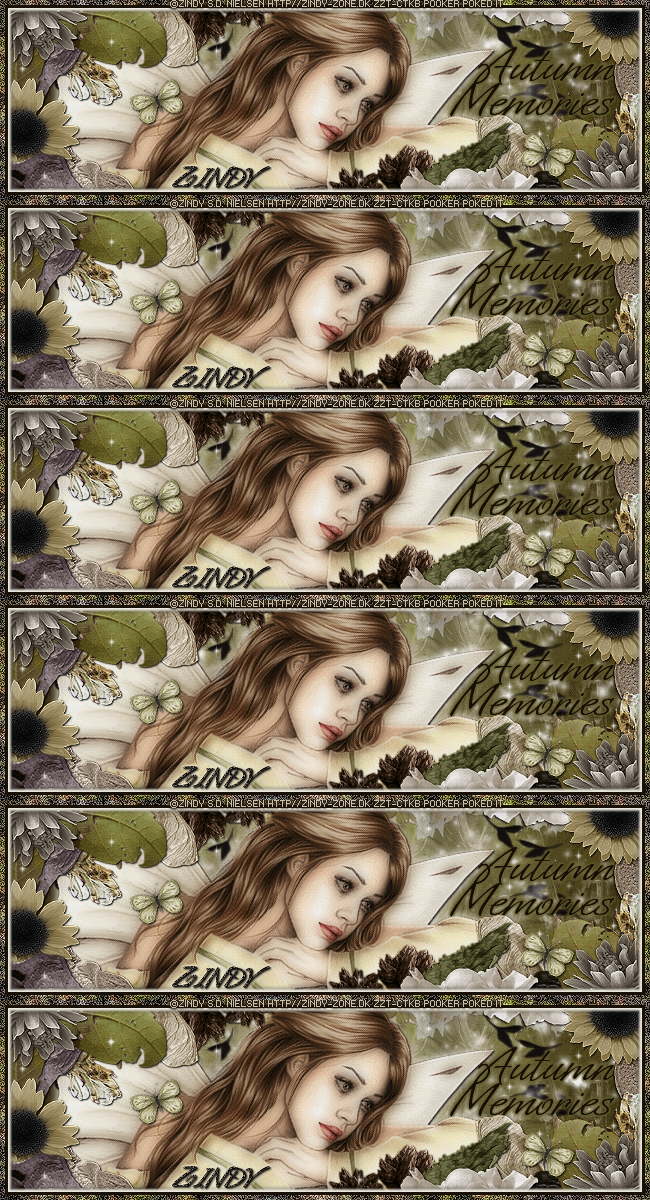
This set above came out ok, I wish I did the lettering better, but so happy to use this tube again!
I dont remember the last time I used it and thought it would be a perfect Autumn tube!
This tube is called - Daydreaming Fairy
And of course its another of Zindy's beauties!
Now this here is a special month for Zindy!
It's Zindy's Shop 6th Anniversary!
YAY
How cool is that?
So make sure you swing by all the links I am gonna provide ya cause you never now what you might find!
I encourage Taggers and Non taggers alike!
She has so many wonderful pieces in her store for us to play with or for us to own and put in our Home!
Zindy Also has some amazing Specials going on in her store and I swear you dont want to miss it!
Please check it out!
Amazing Amazing Stuff!
On her Facebook Fan Group there are lots of goodies going on as well, Contests, Games, and more!
Ok finally let me link you all! Weeeeeeeeeeeeeeeee!
To visit Zindy's Site - Zindy Zone
To visit Zindy's Store - Zindy Zone Shop
To visit Zindy's Tubes Blog - Zindy Zone Tubes
To visit Zindy's Facebook Fan Group - Zindy S.D. Nielsen Artwork
Thanks all for stopping by!
Lot's of love,
Wednesday, August 15, 2012
Tag Showoff - Zindy S.D. Nielsen

So I was playing PSP and actually made a tag! YAY!
It's been a while since my last tag as so much has gone on in real life for me and it's been one tough emotional week!
But last night I decided I was gonna play!lol
So I did and this is what I made!!!
I used of course the amazing and wonderful work of Zindy S.D. Nielsen with a tube called -
Isn't she precious? I think she is stunning and such a beautiful portrait of a young lil girl praying!
You def have to check her out!
Below I will give all the Links to Zindy's sites and where she will share news about herself her drawings and yep where you can buy her amazing tubes and artwork! Weeeeeeeeeeeeeee!
To visit her store - Zindy Zone Shop
To visit her site - Zindy Zone
To visit her tubes blog - Zindy Zone Tubes Blog
To visit her FB fan page - Zindy's Artwork FB Page
You really dont want to miss out on these wonderful places as she has so much to pffer and I hope to see you all over there!
The template I used is the newest collab template I did with my wonderful friend Punky!
It was PunkyPookerCollabTemp1 and you can get it right below this post or over at Punky's blog too
To visit Punky's Blog - Punky Butts Productions
Thanks all for coming by and checking it out! Means alot to me!
Lot's of Love,
Wednesday, August 1, 2012
New Special Tag Showoff - Zindy S.D. Nielsen
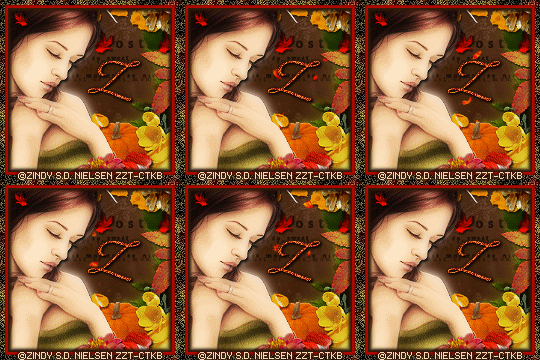
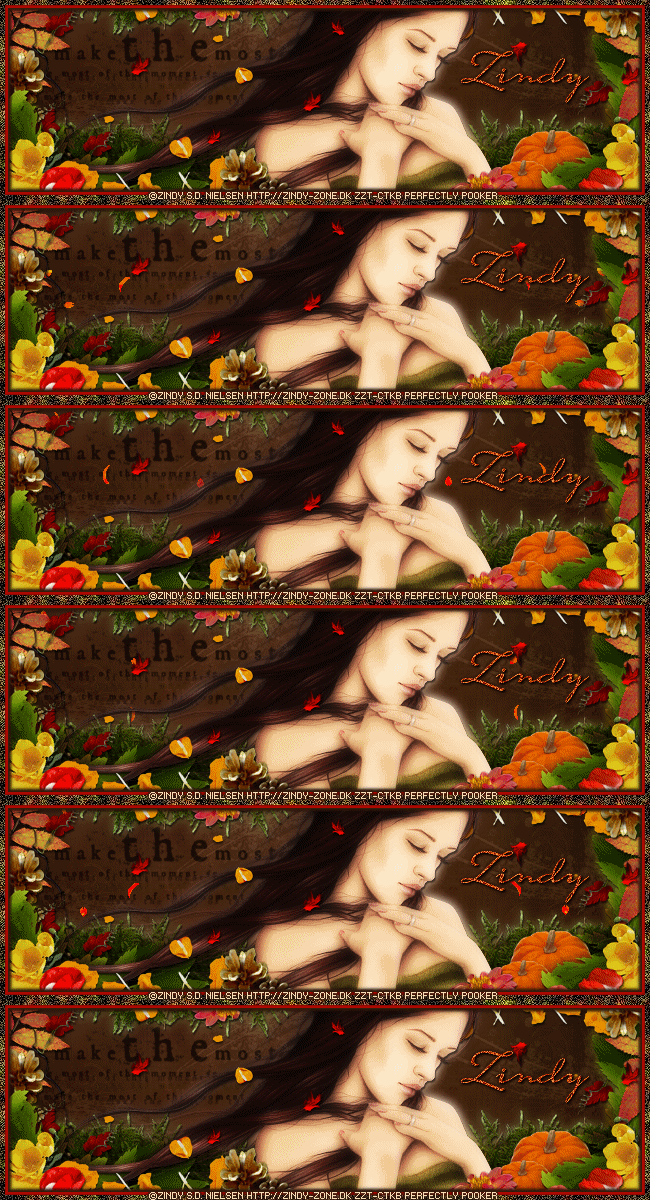
How can You all not Love Zindy! I so know you all do!
As you can tell she is def my favorite artists and really can bring me back into my own lil world with the help of her beautiful Artwork!
Above is a set I made with a very special tube!
This tube is called - Changing Seasons and is Exclusive and available to you if you spend $10 or more at her shop and you get can get this beauty for free!
I am not kidding! Isn't this a great deal?
Please swing by Zindy's shop and see all the beautiful pieces she has for you all and specials she has going, you surely don't want to miss out on this one!
If you spend $10 or more to get this free tube,
You will need to send receipts to Paully at customerservice@zindy-zone.dk and she will send out the tube afterwards.
YAY
So go check it out already!
Also swing by all her beautiful sites to find out what Zindy is doing and find out more info as an artist!
Here are some links to her awesome sites:
Store - Zindy Zone Shop
Main Site - Zindy Zone
Tubes Blog - Zindy Zone Tubes
Facebook Fan Page - Zindy S.D. Nielsen Artwork
Hope to see you all there.
Huge Thank you to Zindy for all your amazingness and giving us the best tubes and specials out there babe! Loves ya girl xoxo!
Lot's of love,
Thursday, July 26, 2012
New Tag Showoff - Zindy S.D. Nielsen
A few new Zindy showoffs for you all!
I havent made a set in a really long time it seams and well, Zindy really inspires me to make such wonderful things especially sets!
So here is what I have done:
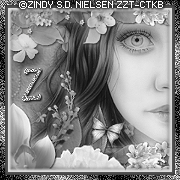
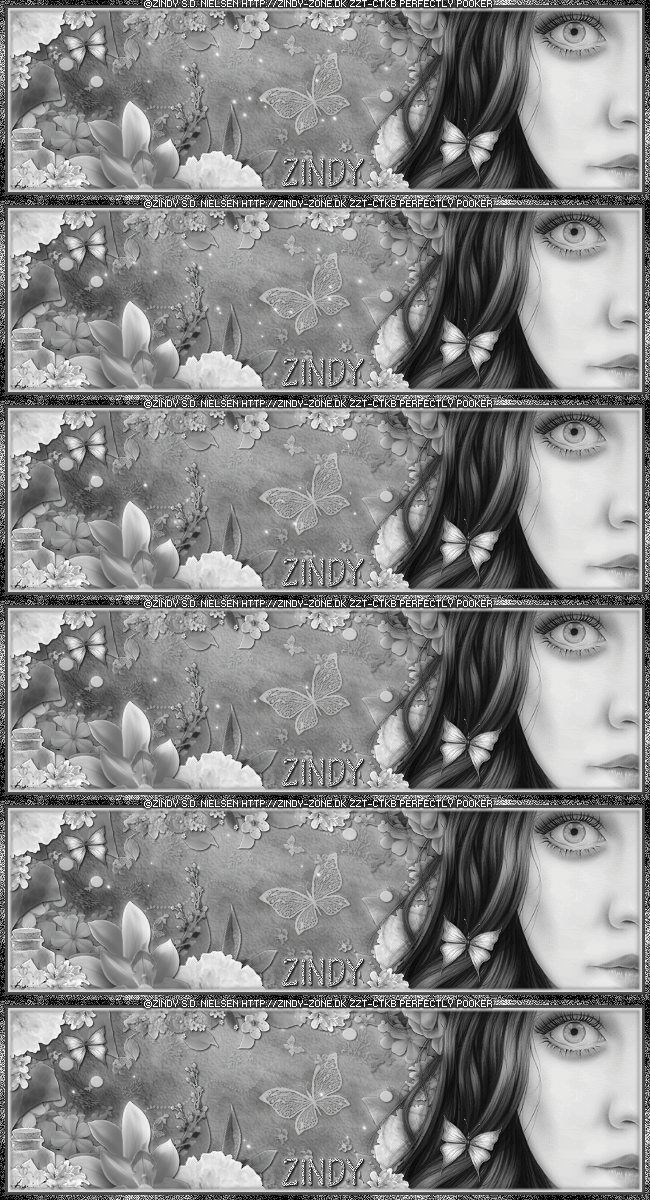
On this set above I used Zindy's Newest Tube called: Look
It is available in her store now! Def swing by and check out this tube and other wonderful pieces she has to offer!
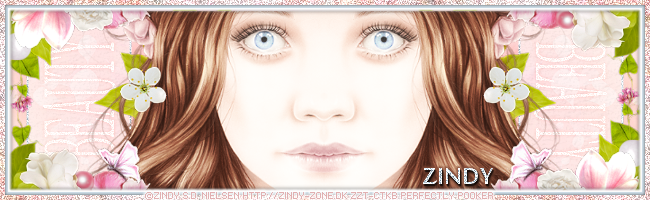
This one above I only made a banner. No Avatar!
I used the same tube like the above set called: Look
This time I used her a bit differently and in color! I flipped her so she looked as if she had a whole face! Think it turned out kinda cool!
A different style for me all together but great to do different things every now and again right?
Make sure you all swing by all Zindy's great sites she has. Here is a list below and I know she would love to see you all there, and so would I:
Main Site: - Zindy Zone
Store - Zindy Zone Store
Tubes Blog - Zindy Zone Tubes Blog
FB Group - Zindy S.D. Nielsen Artwork
Thank you all so much for swinging by and checking it all out!
Lot's of love,
Monday, July 9, 2012
Tag Showoff & Exclusive Template - Zindy
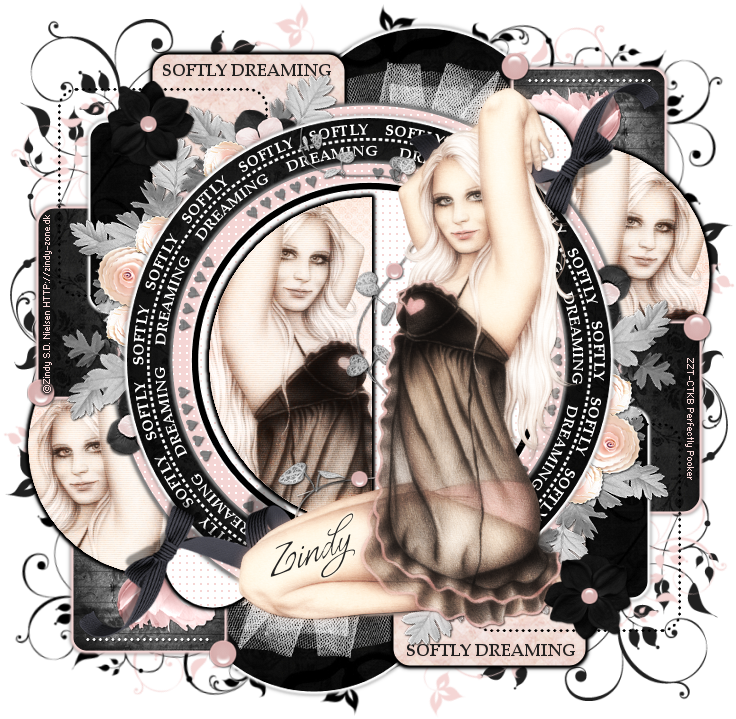
I so loved how this tag came out! And of course it came out awesome cause I used the beautiful work of Zindy S.D. Nielsen.
This tube I used is called - Soft Dreams Pinup
You can get this at her store as well as other gorgeous pieces she has for sale!
Also please swing by her website as she is always adding news and updates on what's going on! You will love reading up on her an be able to view more of her art as well as some free tubes she has there.

A Special Exclusive Template I made just for Zindy and you can only get at one place!
Where you say?
On her tubes blog - Zindy Zone Tubes
Make sure you swing on by to grab the template as well as see what others have made and to see what new things are happening!
I Hope to see you all there.
Lot's of Love,
Tuesday, July 3, 2012
New Tag Showoff - Zindy
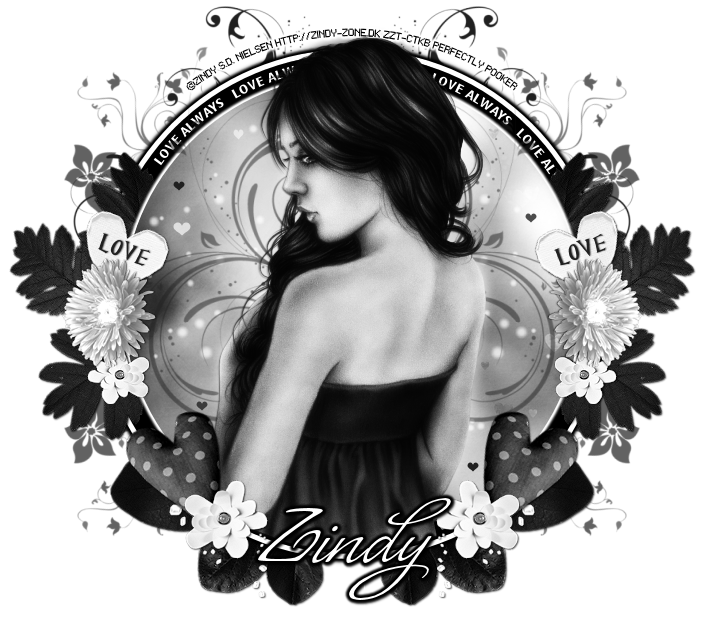
New Tag I made using the absolutely stunning work By Zindy S.D. Nielsen!
I just had to use this tube once I saw it. I was actually porud that I made this tag with no template! YAY.
And I love how it turned out! Hope you all do too.
This tube is called - Still Looking For You!
And you can find it at her store here - Zindy Zone Store
Also swing by and check out her site, forum and her tubes blog for more info on what she is up to and what other have made with her work. Give ya a great way to see all the creative things you can do making tags with these beautiful pieces!
To Visit her website - Zindy Zone
To Visit Her tubes Blog - Zindy Zone Tubes
To Visit her Forum - Zindy's Forum
Zindy and I would love to see you there!
The kit I used for this tag is called - Love Melody
And was made by Kaymee Designs
I just did a bit of colorizing with some elements! Go check her out too. She has some beautiful kits for sale!
The kit I used for this tag is called - Love Melody
And was made by Kaymee Designs
I just did a bit of colorizing with some elements! Go check her out too. She has some beautiful kits for sale!
Lot's of love to all,
Sunday, May 6, 2012
Tag Set Showoff - Shani & Zindy
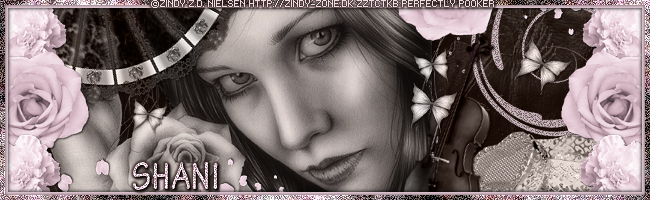
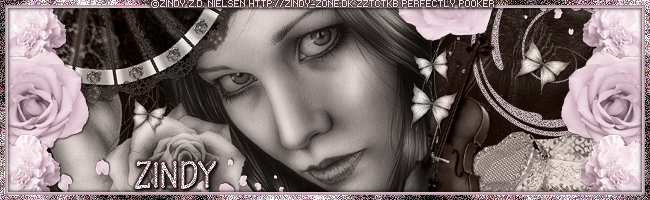
Weeeeeeeeeeeeeeeeeee I did a twofer lol. Both on CT teams of Shani and Zindy and wow did they both go
together so well. Weeeeeeeeeeeeeeeeeeeeeeeee!
The gorgeous Kit I used is called Suzanne and was made by Wicked Princess Scraps aka Shani Kenny
You can swing by her blog to check out all her other kits and where you can purchase from.
She also has a beautiful gallery where you can swing by and check out all the cool and beautiful things peeps have created with her work!
The tube I used is by the amazingly talented Zindy S.D. Nielsen and the tube is called - My Rose
The butterflies i used in this tag are also by Zindy and you can get these lil cuties in special packs here - Butterflies
You can swing by her shop to get it.
Also Make sure you swing by her site as well as she has so much going on with new stuff and ideas you dont want to miss out on!
She also has a Blog for tubes where you can find other peeps creating beautiful stuff with her work!
Monday, January 9, 2012
Moments
MOMENTS
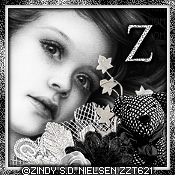
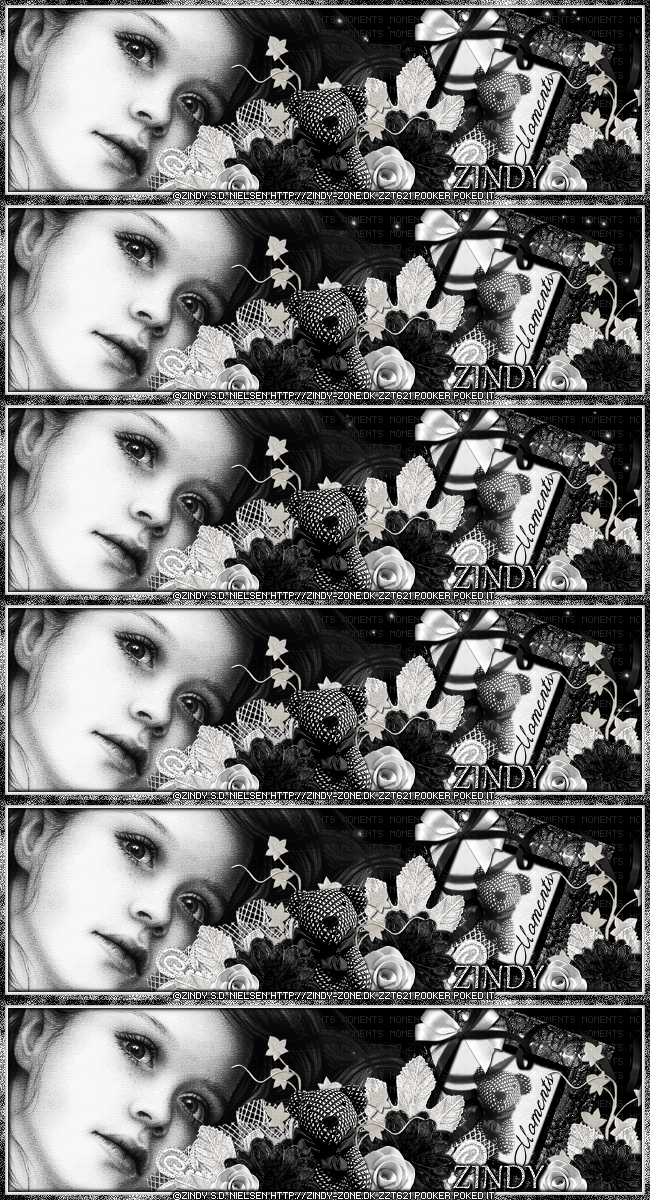
Moments:
I hope you all will bare with me as I might make a few mistakes or mishaps. If so please let me know and I will do my best to correct it.
This might be a long an complicated tutorial, so if your willing to give it a go, I would be honored.
Also it might help you all to see what I do to make sets and help you to future sets you make on your own.
This tutorial is a self expression of my work. Was written using PSP9! Any similarities out there is a quinkydink. lol
Also written With assumption you have full knowledge of a Psp program and all it's tools.
So on with the tutorial!
Filters you will need:
Eye Candy 4000 - HSB Noise, Gradient Glow
Lokas 3d Shadow
DSB Flux - Bright Noise
Supplies you will need:
My Moments Word Sheet here
Moments WordArt here
This gorgeous kit is called Sweet Christmas - By Filledesiles Designs
You can get this kit here
Fonts - FFF Urban (for CR), Gabriola (for Names)
Tube Of Choice, I am using this gorgeous tube By Zindy S.D. Nielsen which you can purchase at her store here
Please swing by her site as well as she has wonderful FTU tubes and other
fabulous stuff. Go here
Animation By Janice from Jus Graphix called - Lightning bugs
Get it here
Open a new 650x200 canvas. Flood fill Black!
Also open up a new 175x175 canvas. Flood fill Black.
Minimize the smaller canvas for now.
Open the Moments word sheet i provided.
Copy and paste as new layer this on to your larger canvas.
Place how you wish on your canvas.
Once you have it how you like, Lower the Opacity to 18.
Now Copy and Paste element 33. Should be a frame.
Now Your gonna resize it. You can use my settings if you like:

Keep doing this till you get the size you want.
Then I went to Adjust/Sharpness/Sharpen.
This should help clear up any blurryness.
Now I want you to go to Image/Rotate/Free Rotate
Rotate the frame 20 degrees right.
You might need to sharpen your image again if burry after rotate.
Place how you like on your canvas or see my tag for reference.
Now take your magic wand tool change it to the lasso and click around your frame you want to add a flood fill background to it.
When you have all selected add new raster layer and flood fill your selection with a color of your choice.
Deselect.
Place this fill below your frame layer.
Now copy and paste as a new layer element #44. Should be a Teddy Bear
Resize like you did above. Keep doing it till you get it how you like!
Sharpen it the same way as you did before too.
Now take this layer and place it below your frame element layer.
Go to Image/Rotate/ Free Rotate
and Rotate it by 20 Degrees.
Sharpen!
Now Duplicate this layer. On the duplicated layer go to Adjust/Blur/Gaussin blur and apply these settings:

Now on the the blurred layer change your blend mode to Screen.
Now copy and paste the Moments Wordart I provided and place it along side your frames as i did!
Look at my tag for reference.
Now Copy and Paste your tube as a new layer! Place your tube to the left hand side of your canvas.
Duplicate.
On your duplicate layer go to Adjust/Blur/Gaussin blur and apply these settings:
Now on the the blurred layer, change your blend mode to Overlay.
Open the next item in the kit element #36. Should be Mesh.
Copy and paste as a new Layer. Resize the same ways you have before.
Sharpen same way too.
Now place this in the center of your canvas.
Duplicate
Then Go to Image/Mirror.
Copy and paste Element #26. A white Flower
Resize again the same way as before. Sharpen as well.
Duplicate.
Place one of the flowers on the end of the mesh and do the same with the other on the other side.
See my tag for reference.
Copy and Pate Element #21. A White Bow
resize and Sharpen same way as before.
Place this at the upper left corner of the frame element.
Copy And Paste element #35. A Black Bow Ribbon
Resize and sharpen the same way as before.
Image/Mirror
Place on top of the white bow. See tag for reference.
Copy and Paste Element #38. A Leaf vine.
Resize and sharpen as before.
Image/Flip
Duplicate this twice so you have a total of 3
Now Place one of these by:
One semi center next to the left white flower.
One I want you to Image/Flip and now place next to the 1st vine but lower the image a bit.
And Last one Place on the side of your element frame on the right side. See tag for reference if you can.
Copy and Paste element #12. A Silver Leaf
Resize and Sharpen like before.
Duplicate 2 times for a total of 3 leaves.
On 2 of the leaves go to Image/Rotate/Free Rotate
Rotate 20 degrees left. Sharpen again if need be.
On the last leaf fo to Image/Mirror
Now Place these like so:
One of the rotated leaves semi on top pf the left white flower.
The other rotated leaf on top of the Leaf vine by the element frame on the right side. See tag for reference.
On the Mirroed Leaf. Drop this layer down behind the middle Leaf Vine you did earlier.
Place how you like by the left side of the element frame.
See my tag for reference.
Copy and Paste Element #30. A Black Flower
Resize and Sharpen like before.
Duplicate 2 times so you have a total of 3.
Place one flower semi on top of the left silver leaf.
2nd one drop this layer below your Leaf vine again like before and place semi on top of your Silver leaf there.
3rd one resize and sharpen one more time and place this semi on top of the right silver leaf. See tag for reference.
Copy and Paste Element # 44. A Teddy Bear
Resize and Sharpen like before.
Place this teddy bear layer under the black flower layer on the left. Place
as desired. Or see tag for reference.
Copy and Paste Element # 43. A white rose
Resize and sharpen like before.
Duplicate this 2 times for a total of 3 roses.
Resize and Sharpen 2 of the roses one more time so they are a bit smaller.
Place these like so:
Place the larger white rose layer inder the teddy bear layer and semi arrange it on top of the middle black
flower. See tag!
Now take one of the smaller roses and place it on the left side semi on top of the left black flower.
Take the last rose and place it semi on top of the right black flower.
See tag.
Now add this drop shadow with these settings or one of your choice to all elements
except:
The framed teddy bear.
The word art
and The Moments sheet.
Also no drop shadow to the blurred images.
You can drop shadow the one that arent blurred though.
Like the tube and small framed teddy bear.
Here are the settings:

I know I know a lot of coping and pasting and resizing and sharpening lol. But That's how I did it.
Weeeeeee we have made it to make the banners border frame.
Go to your flood filled black layer we did in the beginning. Select it.
Go to Selections/Select All.
Then Selections/Modify/Contract
Add these settings:

Then go to Selections/Invert
Add a new raster Layer. Bring this layer all the way to the very top of your layers.
Now flood fill your selected layer with a color of choice. I chose to use white.
Deselect.
Now Go to Eye Candy 4000/Gradient Glow and apply these settings with a color of your choice.
I used Black.


Do this only 1 time
Now Add Drop Shadow - Effects/3dEffects/Dropshadow:

Now go back down to your black flood filled layer again.
Go to Selections/Select All
Then go to Selections/Modify/Contract
Add these settings:

Now add a A new Raster layer. Bring the layer all the way to the top again.
Now flood fill with your gradient of choice.
I used black and a grey from the tube
Now apply these gradient settings:

Flood fill your selection on the new layer. Deselect.
Now on this same layer I want you to go to Eye Candy 4000, HSB Noise and apply these settings:

Then go to DSB Flux/Bright Noise and apply these settings:

Now Sharpen.
Add drop shadow of choice. My settings are:
Effects/3dEffects/Dropshadow:
Now Here is where I added my CR info to the tag, I used font FFF Urban, size 6, no bold.
Capital letters! Font color - White
Convert to raster and Add a gradient glow 1 time to it. Same glow color as before.
What i do to the names:
I used font - Gabriloa Size 30 bold selected
I use same font for avatar, but might be a smaller size. Or larger if only Intitial.
I add the name in a color that matches the tag. When I complete the name. I convert to raster.
I go to DSB Flux and add the same settings I used before as I did in the borders.
Sharpen.
Then I add Lokas/3d Shadow. Same settings as before. I do this twice.
Then I add gradient glow settings as I did before. I add this effect only once.
I think it helps the letter pop!
And wala.
Now Avatar Time!
This is how I do most of my avatars.
On the banner tag. I hide the borders and CR layer. Then I right click and copy merged.
Then I paste as a new layer on to my avatar canvas. I resize this by 80% then sharpen.
I arrange it so that you can see the tube and some elements. If the elements dont show good, i sometimes
copy and paste a few of the elements on there as i did with banner, and add a drop shadow to help
complete the look.
When done you are gonna do the borders the very same way as you did with them with the banner tag,
Same settings and all. When finished add your CR info.
Then you can either merge your finished product or not.
This is where I would add the intial or the name.
I save in PNG format!
Congrats on making it this far. I know it must have been a lot. But this is what I do everytime I make a set.
Sometimes more. But I hope this will help you in your creative minds. I cant wait to see how you all did.
Huge Hugs xoxo
Now If you are interested in Animating it? Well let's get to it!
Alright this is what i do.
On the banner tag, and when all is done from above, I want you to X out everything except your
black fill layer and Moments Sheet layer.
When all is Xed out. Go to your black filled layer and Merge Visible!
Now X out your merged layer. Now Un X all the other layers. make sure your name or someone else's isnt on the tag yet. Now once all has been visible again. I want you to Merge visible.
Now you should have two layers only now. Your background and your everything else layer.
Now make sure both layers are un Xed. I want you to go to your crop tool, and click this button:

Its on the upper of your screen.
Now double click on your tag quick. This is just to make sure both layers will be the same size and even
when you go to animate.
Now highlight your background Layer. Copy. Open animation shop.
Now Paste as a new Layer
We are gonna duplicate this the same amount of layers as the animation.
The animation I used is 65 Layers. I know its alot. But hey why not right?
So what I do is Hold down CTRL and hit L. I keep doing this till I get the same amount of layers.
You will be able to tell how many layers it is and the bottom right hand of your screen.
When you get the number of layers you want. Stop
Now go to your animation, Open Janice's animation.
Hit CTRL A.
This highight all the layer. Right click on the top of your canvas and select Copy.
Now go to your background piece.
Hit CTRL A to highlight them all. Now Hit CTRL E
This will allow you to place the animation.
Now click to place where you would like.
Now do it one more time and place again on the empty side.
We want it to cover the whole
banner. I did mine on the left side first, then right side.
And wala its now on all the layers.
You can view your animation if you like.
Once your are happy. Go back to PSP and copy your top layer wth everything on it.
Bring to AS.
Paste as a new layer.
Hit CTRL L to duplicate the same out of times as before. Once done Hit CTRL A to select all.
The Right click on the layer to copy.
Now go Back to your background with your animation. Hit CTRL A to select all. Then CTRL E
to paste. Line up your lines so it all fits easily and nicely. Click to paste.
Now you have an animated banner.
Now what I do from here if I want to save it without compressing it yet. I hit CTRL A to select all. Right
click Copy. Go back to PSP and paste as a new layer. From there is where I save. I save in animation shop
format!
So when I go to add a name to animation shop, I open the file in AS
and its all ready for me to add names to it.
I do the names the same way. Make them in PSP then bring over to AS duplicate them as many
frames as I need and CTRL E to paste them where I want.
Then save banner and your done!
Weeeeeeeeeeeeeeeeeeeeee! I really hope this all made sense. It's very tough to explain Animation!
I really cant wait to see your finished tags.
Now remember this is mostly what I do with every set I make. I hope this helps you to see how I do it all.
Thanks so much for your patience!
Lots of love
Subscribe to:
Posts
(Atom)
Fav Blogs



Fav Avatars